Table of Contents
In this article, I will take you through Best Visual Studio 2013 Download and Installation Steps. Visual Studio 2013 is the ideal tool for writing C# code, and it provides many features. Visual Studio 2013 will make certain options available to you based on the underlying version of Windows that you are running.
If you are running Windows 8.1, you will only be able to create new Windows Store applications for Windows 8.1. You will be able to open existing Windows 8 app solutions in VS2013, but not create new ones. You are able to create new Windows 8 apps only with VS2012, but this should be considered a special case given the arrival of Windows 8.1. Windows Store applications cannot be developed with any version of Visual Studio on Windows 7, Windows Server (any version), or previous versions of Windows.
Visual Studio 2013 Download and Installation Steps
Also Read: C# Data Types with Best Examples
Step 1: Visual Studio 2013 Download
First You need to download Visual Studio 2013 Ultimate version from Microsoft Download Page . Here I am using Ultimate version of Visual Studio which is a Licensed Version. You might want to use Community version or trial version for your demo purposes. You can use any version as per your requirement. The main difference will comes in terms of features available in each version.
Step 2: Double Click on Application File
Once the software is downloaded, you can extract and double click on vs_ultimate.exe file. Please be sure to start the installation with admin access to avoid any unnecessary permission issue.
Step 3: Click on Install
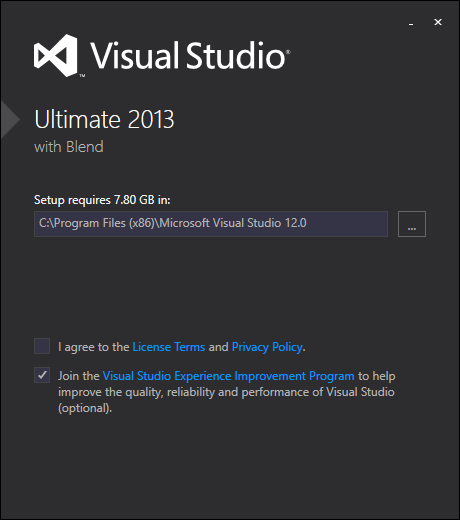
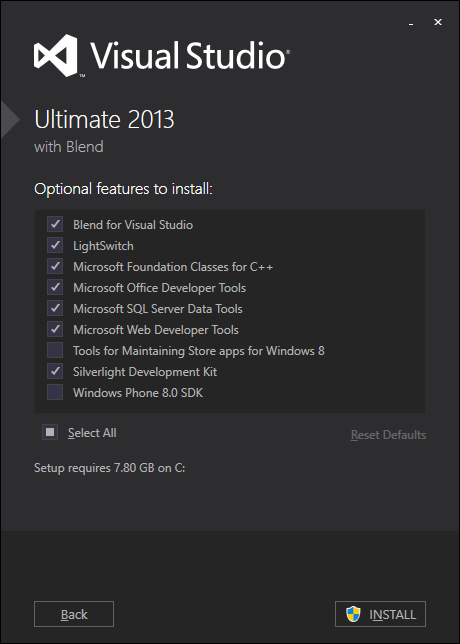
You can click on I agree radio button and then click on Next. Here you can custom select the number of features you want to install along with Visual Studio. It is not necessarily important to select all the features now itself. You can also later install these features as per your requirement. For this demo, I will use the default selected features and Click on Install.
Step 4: Installation Started
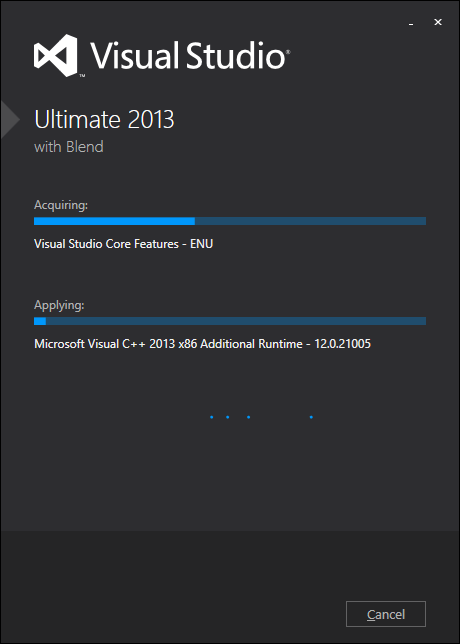
Now you can see that it calculates the amount of space required and check the amount space available and will start the installation process.
Step 5: Successful Installation
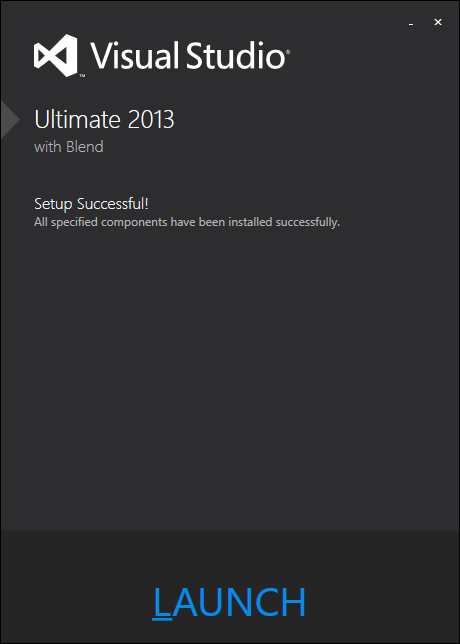
Entire Installation process takes around 15-20 mins usually depends on number of features you have selected. Once it completes without any error then you will be see below setup successful Screen. Now You can Launch Visual Studio 2013 by Clicking on Launch.
Step 6: Open a New Project
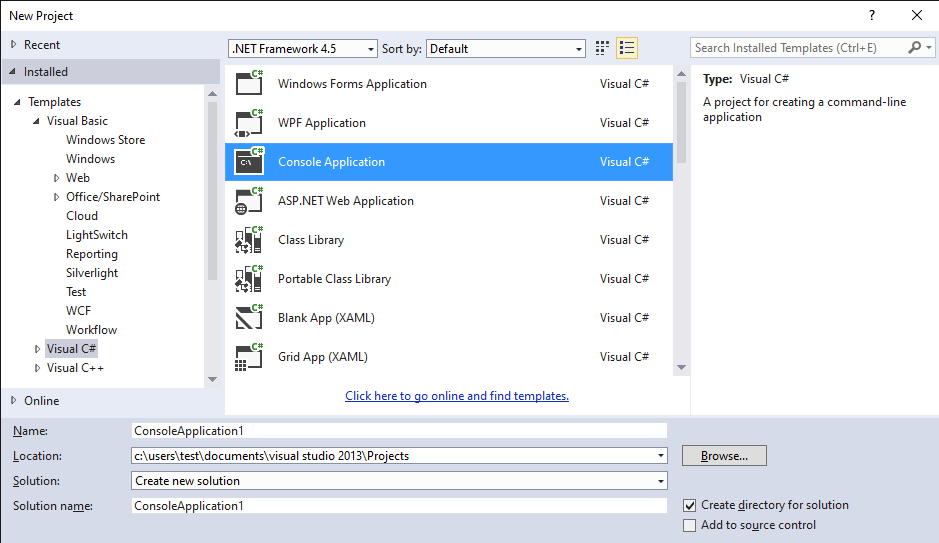
It is now time to create a Sample Application. You can select New Project->Console Application and select the Language as Visual C# from left template window. You can provide the name of the Project and specify the project location. In this demo, I am using default setting as you can see below.
Step 7: Write Your First Hello World Program
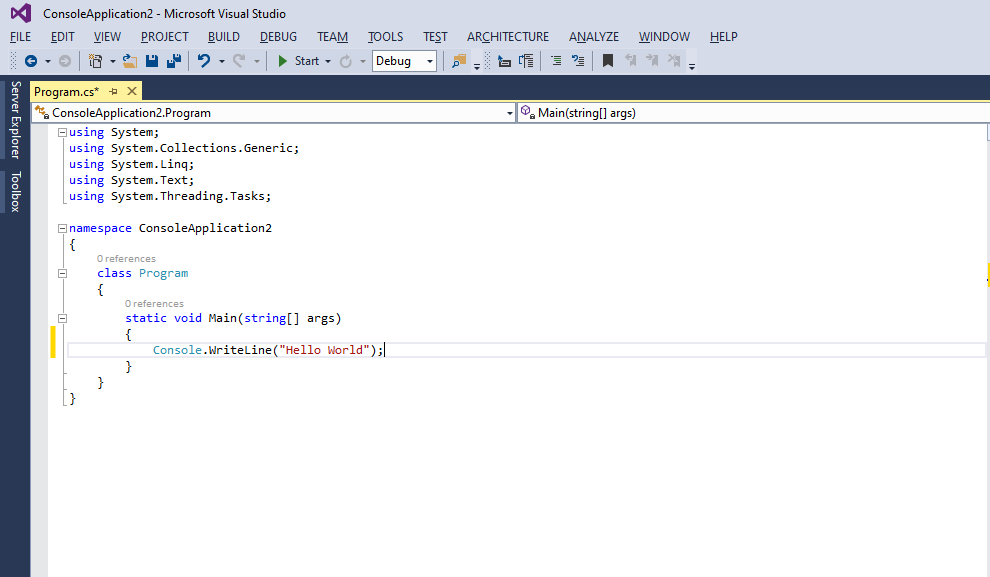
Once all the options are set, you can see a default application created with some default code. If you can notice, below are the default system namespaces it already provides.
using System;
using System.Collections.Generic;
using System.Linq;
using System.Text;
using System.Threading.Tasks;
This is a simple program to display Hello World in the Output. As you can see in below program, Console.WriteLine() method is used to display Hello, World in the standard output. This program has starting point from main() function like it usually happens in other programming language as well. Now you can Build your application by using Debug->Start without Debugging.
Step 8: Run Your Program
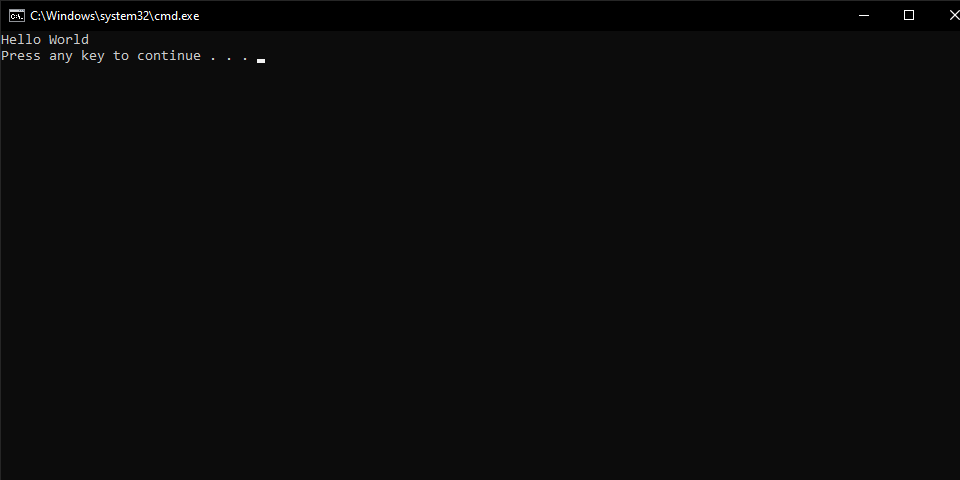
If the project build is successful and there is no error, then you will see below output screen with output Hello World. To exit out from this screen, you can click any Key.
I hope steps are clear and you liked the article on Visual Studio 2013 Download and Installation Steps. Please keep checking for many more useful articles yet to come. Thanks!!
Reference: Microsoft Visual Studio 2013 Documentation
Also Read: Visual Studio 2013 Cookbook
