Table of Contents
In this tutorial, I will take you through the steps to enable ssh on Ubuntu(18.04/17.04/16.04). OpenSSH is a freely available version of the Secure Shell (SSH) protocol family of tools for remotely controlling, or transferring files between, computers.
Traditional tools used to accomplish these functions, such as telnet or rcp, are insecure and transmit the user’s password in cleartext when used. OpenSSH provides a server daemon and client tools to facilitate secure, encrypted remote control and file transfer operations, effectively replacing the legacy tools.
Enable ssh on Ubuntu
In this example, we will use test user with sudo privileges.
Prerequisites
Before continuing with this tutorial, make sure you are logged in as a user with sudo privileges.

Step 1: Update the System
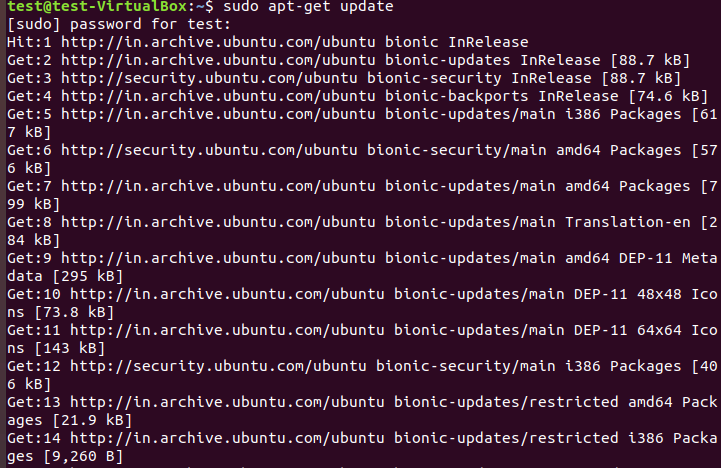
First we need to update the System using sudo apt-get update command. Make sure to take backup of all of your applications and files to avoid any issue before running the update.

Step 2: Install Openssh
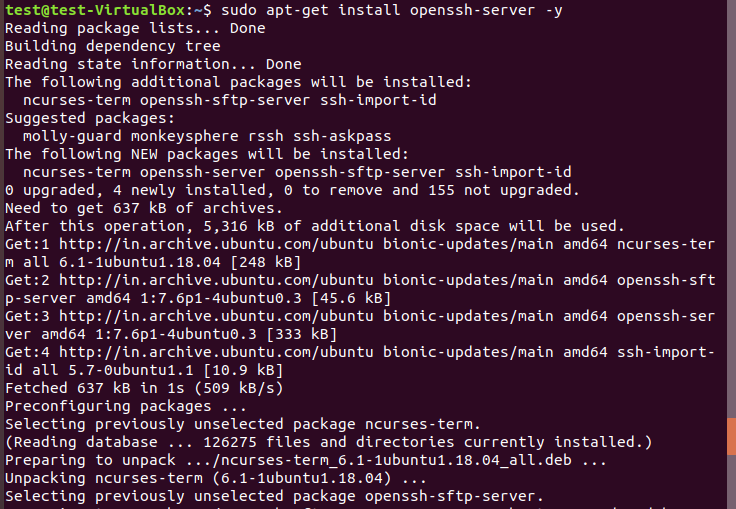
Then Install Openssh package using sudo apt-get install openssh-server command.

Step 3: Check the Service
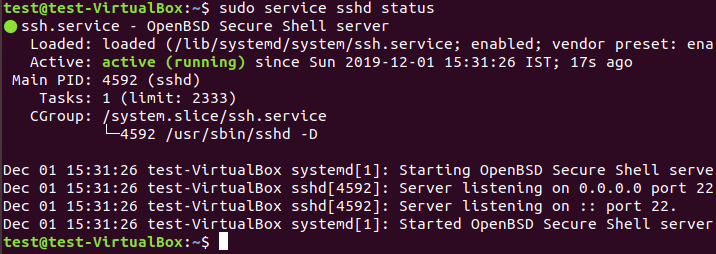
Once Installation completed successfully, check the server status through sudo service sshd status. If the service is not running or not started you can do sudo service sshd restart/start to start the service.

Step 4: Verify the ssh connection locally
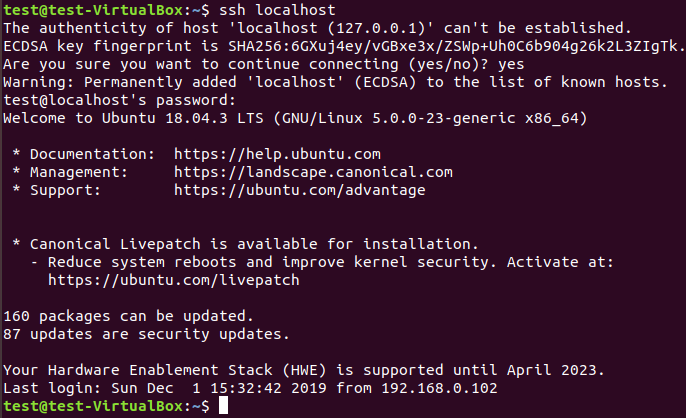
Since sshd service is running now, we can try to login to this node locally by using ssh localhost command.

Note: Sometimes, it shows Connection refused when port 22 is not allowed through Server. In that case, you need to allow it through Server using sudo ufw allow 22 command.

Also Read: Upgrade CentOS 7
Reference: Ubuntu OpenSSH Server
